2. 주요 사용방법 _ 추가
- ADD 버튼을 클릭한다.
- 작성되어있는 YAML파일 (현재 ---로 여러개로 나뉘어져 있는 YAML 파일은 불가) 을 불러오거나 또는 Template을 선택하여 기본 형태를 로드한다.
- YAML을 작성 후, Confirm 버튼을 누르면 배포된다.
- Namespace를 Default로 Deployment를 조회한 후, ADD 버튼을 눌러서 Template을 연 후, YAML을 작성한다.
- YAML파일 작성이 어렵다면, 우측의 Input에서 nginx를 입력하여주면 된다.
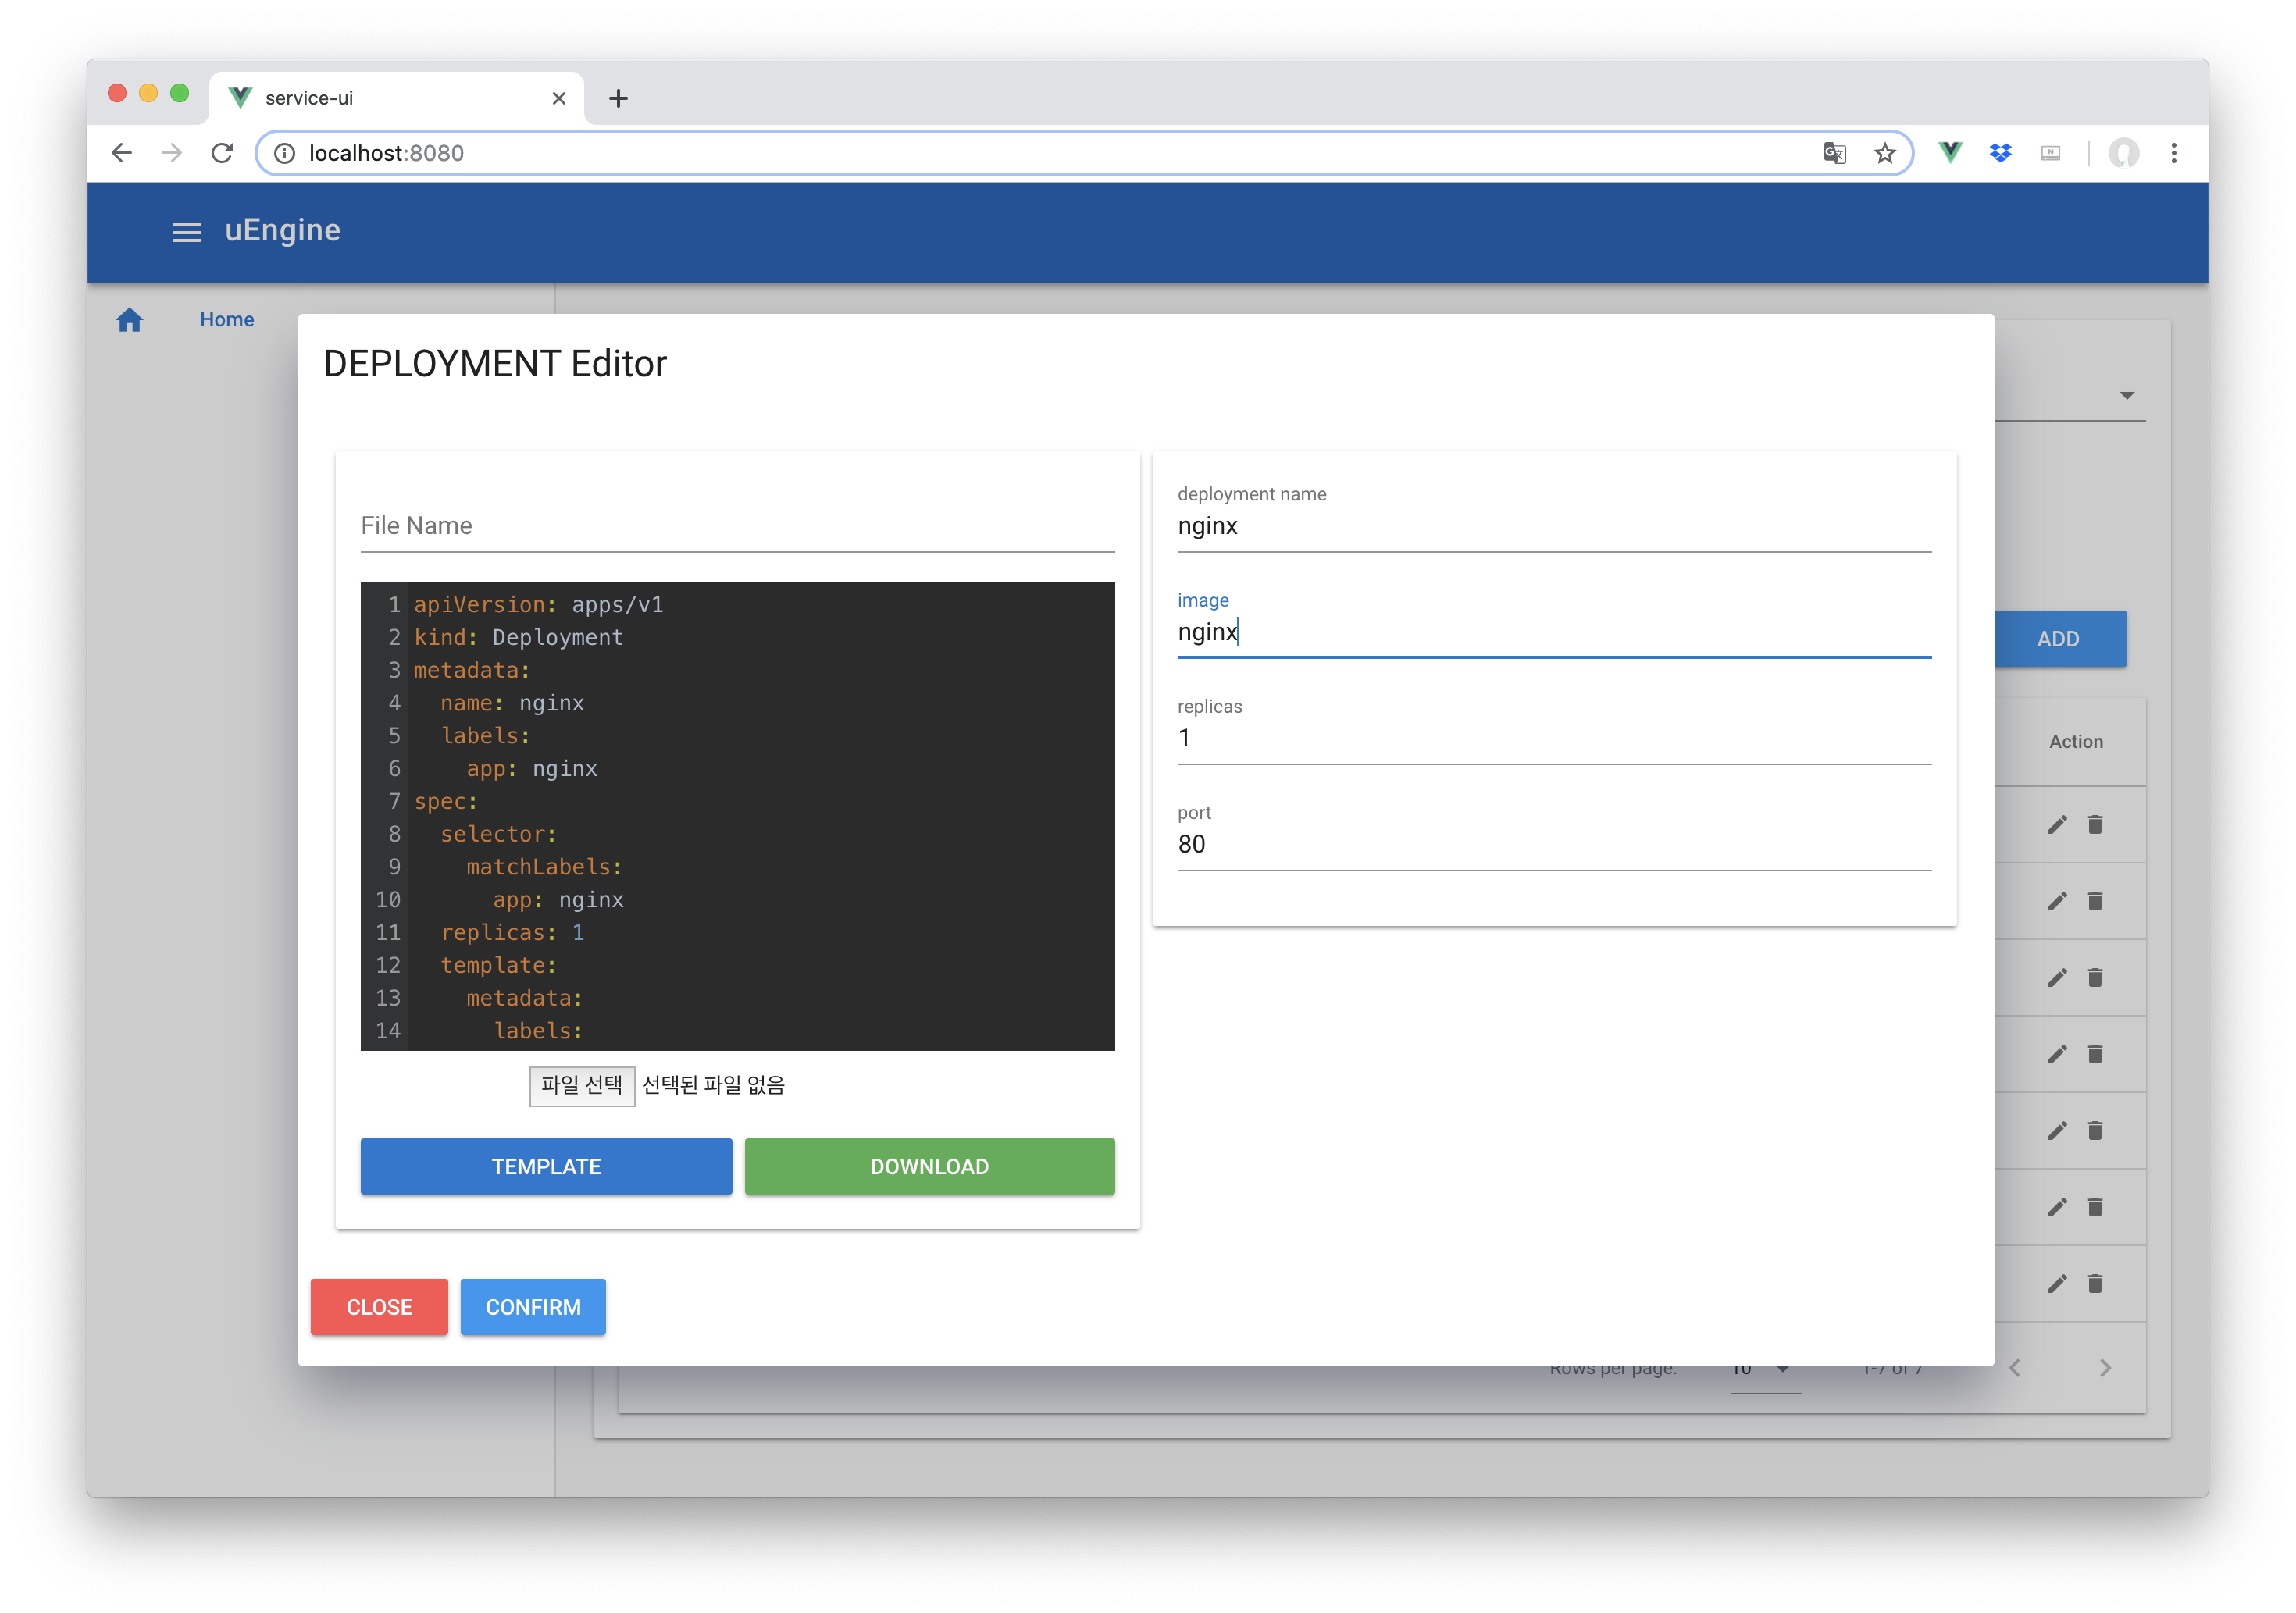
- 위의 그림과 같이 작성하여 배포하면 Replica가 1개로 Deployment가 배포되는 것을 확인 할 수 있다.
example@ex~$ kubectl get deployment -w
NAME                      READY   UP-TO-DATE   AVAILABLE   AGE
deploy-monitor            1/1     1            1           7d17h
pod-monitor               1/1     1            1           7d17h
service-kube-controller   1/1     1            1           7d17h
service-monitor           1/1     1            1           7d17h
serviceapi                1/1     1            1           6d19h
serviceui                 1/1     1            1           10d
nginx   0/1   0     0     0s
nginx   0/1   0     0     0s
nginx   0/1   0     0     0s
nginx   0/1   1     0     0s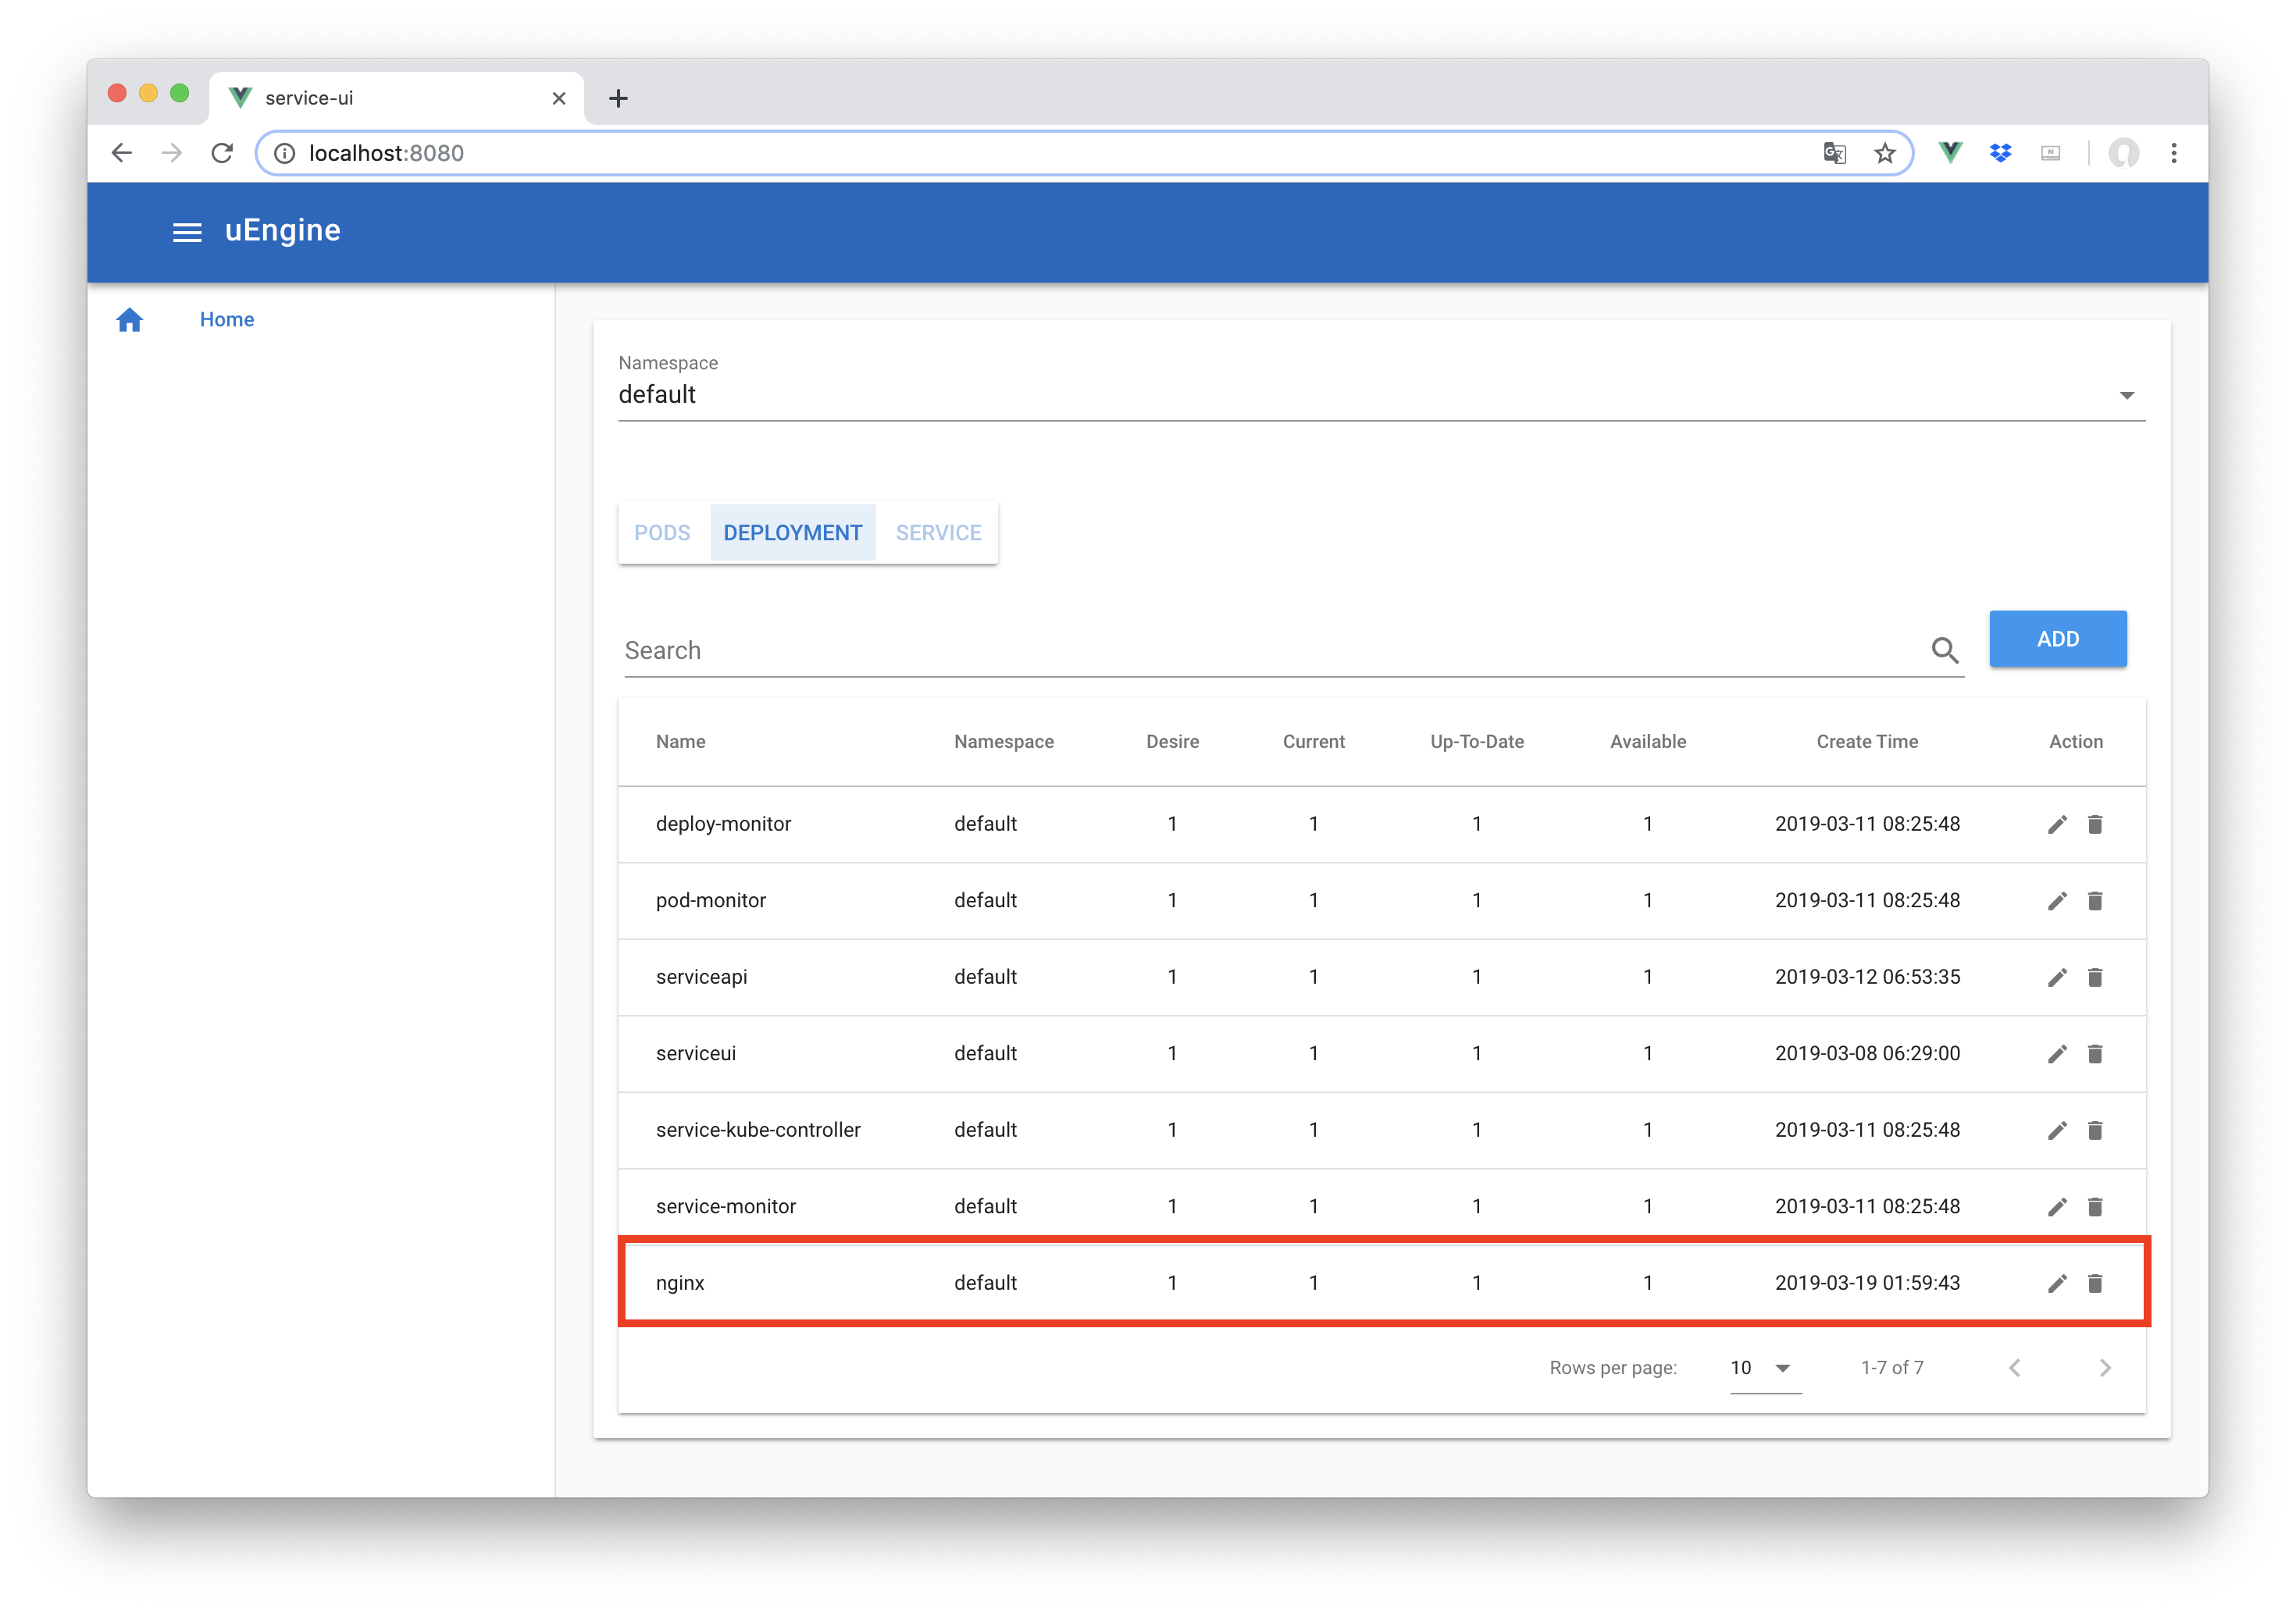
nginx 1/1 1 1 6s- 다시 조회화면으로 돌아오면 nginx Deployment가 생성된 것을 확인 할 수 있다.
# yaml 등록
example@ex~$ kubectl apply -f example.yaml