The Supalink iOS SDK is designed to help developers integrate Supalink functionality into their iOS applications. With this SDK, you can easily handle deferred deep linking, user session management, and URL handling for sharing and redirection purposes.
For more details about Supalink and its features, visit Supalink.
- Deferred Deep Linking: Handle deep links even if the app is not installed at the time of the link click.
- User Type Management: Identify and categorize users based on their interactions with the app (e.g., organic, returning, converted).
- Universal Link Handling: Handle Universal Links to enable deep linking functionality across iOS.
- ClipBoard Integration: Support for accessing and handling clipboard content for dynamic links.
You can add the Supalink SDK to your project using Swift Package Manager.
-
Open your project in Xcode.
-
Go to
File > Swift Packages > Add Package Dependency. -
Enter the URL of the Supalink repository:
https://github.com/monibu1548/supalink-ios-sdk.git -
Select the version or branch you want to use and add it to your project.
If you'd prefer to manually add the SDK to your project:
-
Clone the repository:
git clone https://github.com/monibu1548/supalink-ios-sdk.git
-
Drag the
SupalinkSDKfolder into your Xcode project. -
Make sure to link the required dependencies in your Xcode project.
- XCode > Project > App Target > Signing & Capabilities
-
Add Associated Doamins Capability
-
Add Associated Doamin
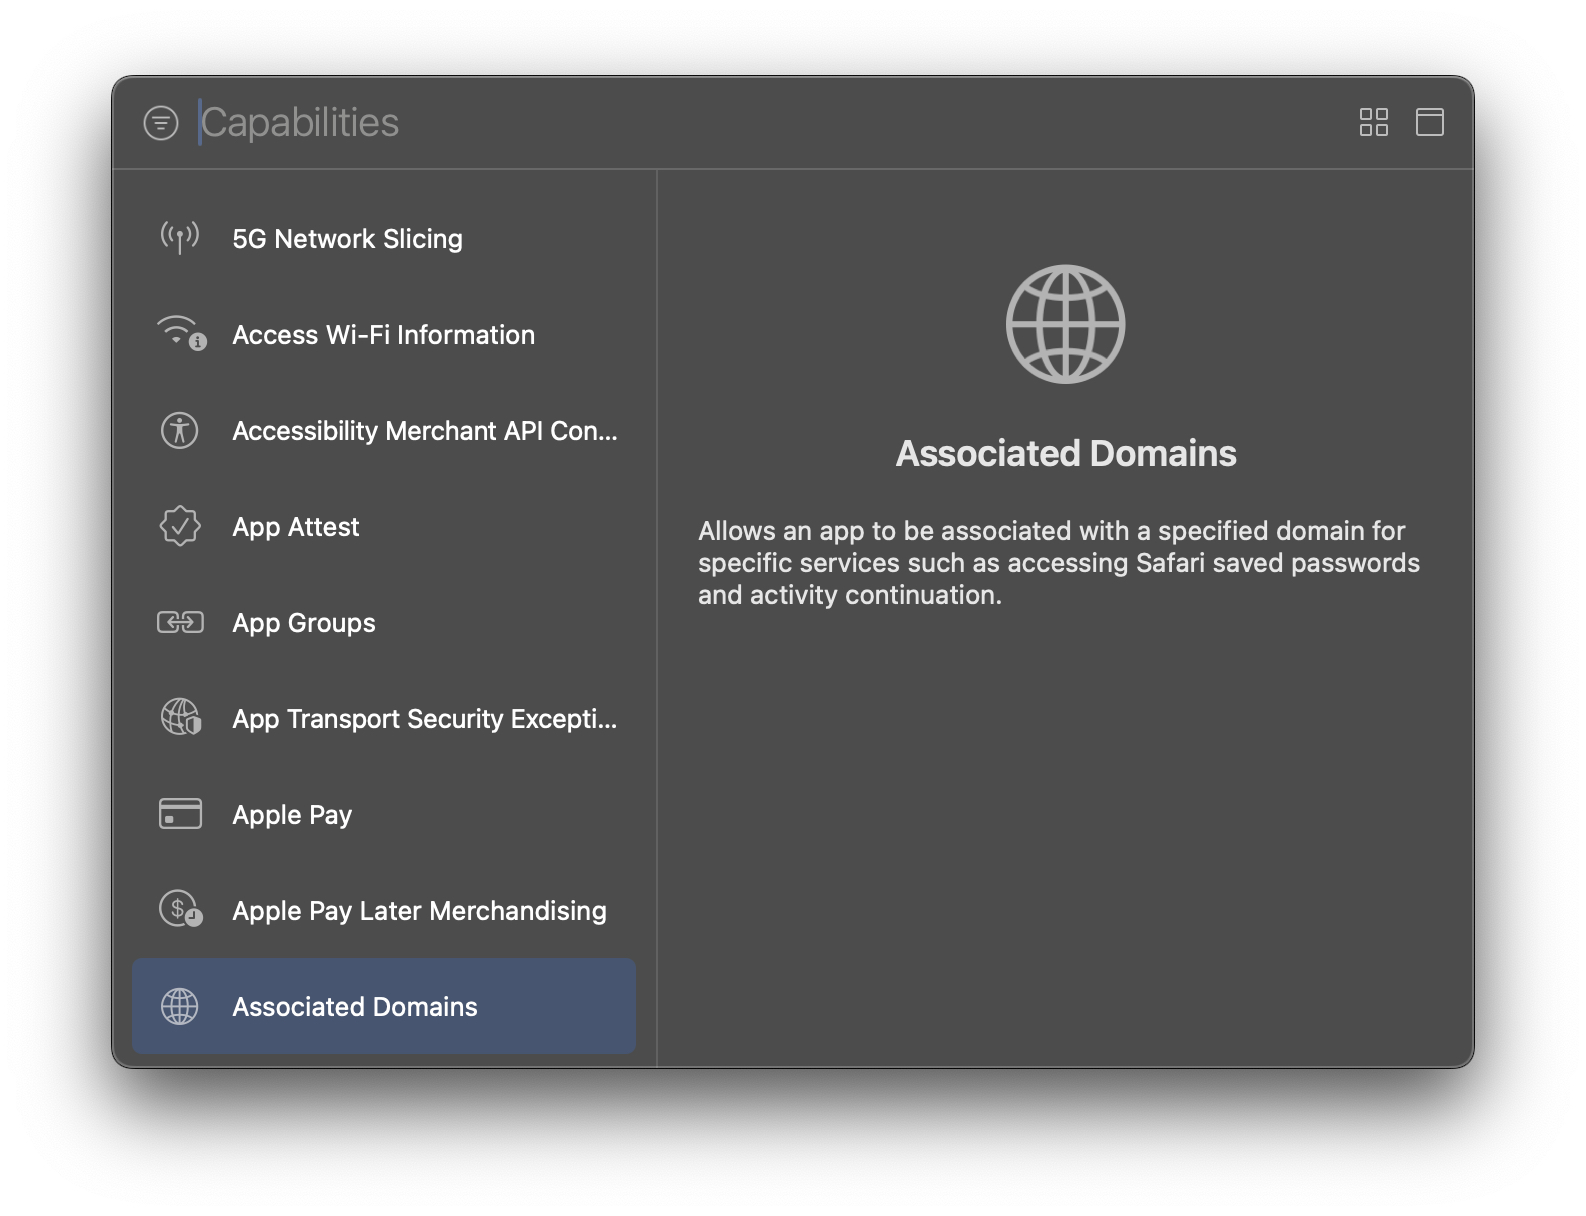
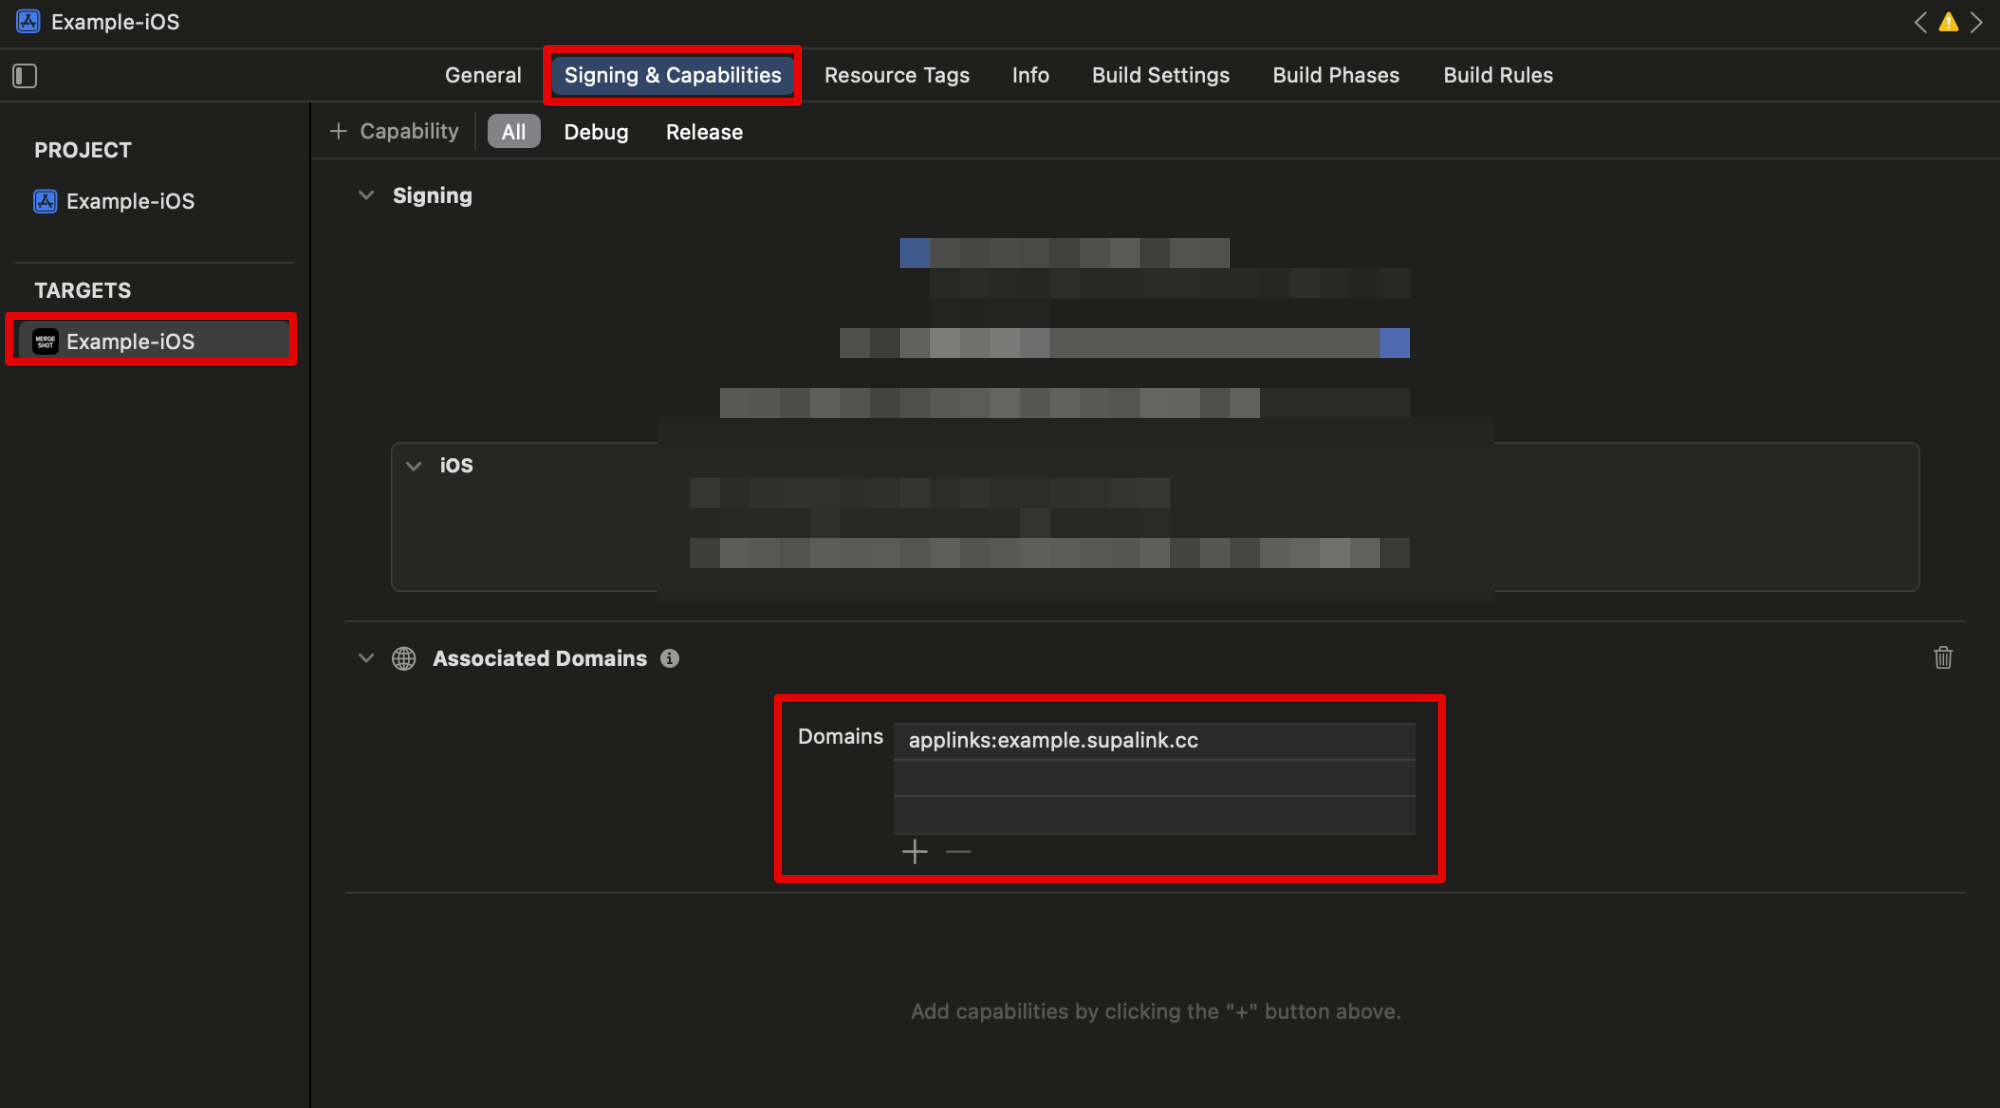
Format: applinks:{your subdomain}.supalink.cc
To initialize the SDK and handle user session management, you can call initSession when your app launches:
import Supalink

class AppDelegate: UIResponder, UIApplicationDelegate {
    func application(_ application: UIApplication, didFinishLaunchingWithOptions launchOptions: [UIApplication.LaunchOptionsKey: Any]?) -> Bool {

        SupalinkSDK.shared.initSession { userType in
            // 유저 타입에 따라 적절한 처리를 합니다.
            // Handle actions based on the user's type.
            switch userType {
            case .converted:
                // Supalink를 통해 신규 가입한 유저 처리
                // Handle a user who signed up via Supalink
                break
            case .organic:
                // 자연유입으로 신규 설치된 유저 처리
                // Handle a user who installed the app organically
                break
            case .returning:
                // Supalink를 통해 재유입된 유저 처리
                // Handle a user who returned via Supalink
                break
            case .other:
                // Supalink 유입도 아니고, 첫 설치도 아닌 유저 처리
                // Handle a user who is neither from Supalink nor a first-time installation
                break
            }
        }

        return true
    }
}To handle Universal Links in your app, use the handleUniversalLink method:
class AppDelegate: UIResponder, UIApplicationDelegate {
    func application(_ application: UIApplication, continue userActivity: NSUserActivity, restorationHandler: @escaping ([any UIUserActivityRestoring]?) -> Void) -> Bool {
        if userActivity.activityType == NSUserActivityTypeBrowsingWeb,
            let incomingURL = userActivity.webpageURL {

            // Supalink의 유니버설 링크를 처리합니다.
            // Handle the incoming Supalink universal link
            SupalinkSDK.shared.handleUniversialLink(incomingURL) { supalink in
                print("You can use supalink params: \(supalink)")
            }

            return false
        }

        return false
    }
}- Fork this repository.
- Create your feature branch (
git checkout -b feature/YourFeature). - Commit your changes (
git commit -m 'Add new feature'). - Push to the branch (
git push origin feature/YourFeature). - Open a pull request.
This project is licensed under the MIT License - see the LICENSE file for details.